Bridge Rectifier LED Indicator
Using a few diodes and a LED, you can make a nice indicator as shown in associated schematic diagram that can be used for a lot of applications (with a bit of luck). It’s quite suitable for use in series with a doorbell or thermostat (but don’t try to use it with an electronically con-trolled central-heating boiler!). This approach allows you to make an attractive indicator for just a few pennies.

The AC or DC current through the circuit causes a voltage drop across the diodes that is just enough to light the LED. As the voltage is a bit on the low side, old-fashioned red LEDs are the most suitable for this purpose. Yellow and green LEDs require a somewhat higher forward voltage, so you’ll have to first check whether it works with them. Blue and white LEDs are not suitable. You also don’t have to use modern high-efficiency types (sometimes called ‘2-mA LEDs’ or ‘3-mA LEDs’). If a DC current flows through the circuit and the LED doesn’t light up, reverse the plus and minus leads.
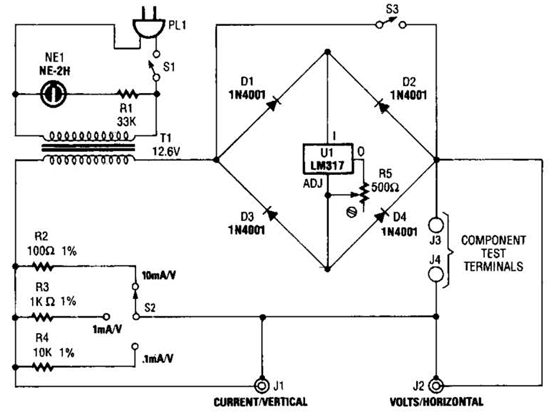
Circuit diagram :

Bridge-Rectifier LED Indicator Circuit Diagram
When building the circuit, you’ll notice that despite its simplicity it involves fitting quite a few components to a
small printed circuit board or a bit of prototyping board. That’s why we’d like to give you the tip of using a bridge rectifier, since that allows everything to be made much more compact, smaller and more tidy, and it eliminates the need for a circuit board to hold the components. Besides that, you can surprise friend and foe alike, because even an old hand in the trade won’t understand the trick at first glance and will likely mumble something like “Huh?
That’s impossible.”
A bridge rectifier contains four diodes, which is exactly what you need. If you short the + and – terminals of the bridge, you create a circuit with two pairs of diodes connected in parallel with oppo-site polarity. Select a bridge rectifier that can handle the current that will flow through it. In the case of a doorbell, for example, that can easily be 1 A. Select a voltage of 40 or 80 V.
Never use this circuit in combination with mains voltage, due to the risk of contact with a live lead.
Author: Karel Walraven - Copyright: Elektor


Comments
Post a Comment